
Bathroom lighting has to do more than simply make the room bright. It needs to support grooming, illuminate the face clearly, remain comfortable at night, and use suitable fittings around moisture and water.
The mirror is usually the most demanding lighting position in the bathroom.
A good bathroom plan combines general lighting with well-positioned mirror illumination, then adds accent or decorative light where it genuinely improves the space.
The Three Jobs Bathroom Lighting Needs to Do
A good bathroom lighting plan usually combines three different functions. Each one solves a different problem, and relying on only one layer often creates shadows, glare or an uneven result.
General Lighting
Provides comfortable overall illumination so the bathroom is easy to use and move through.
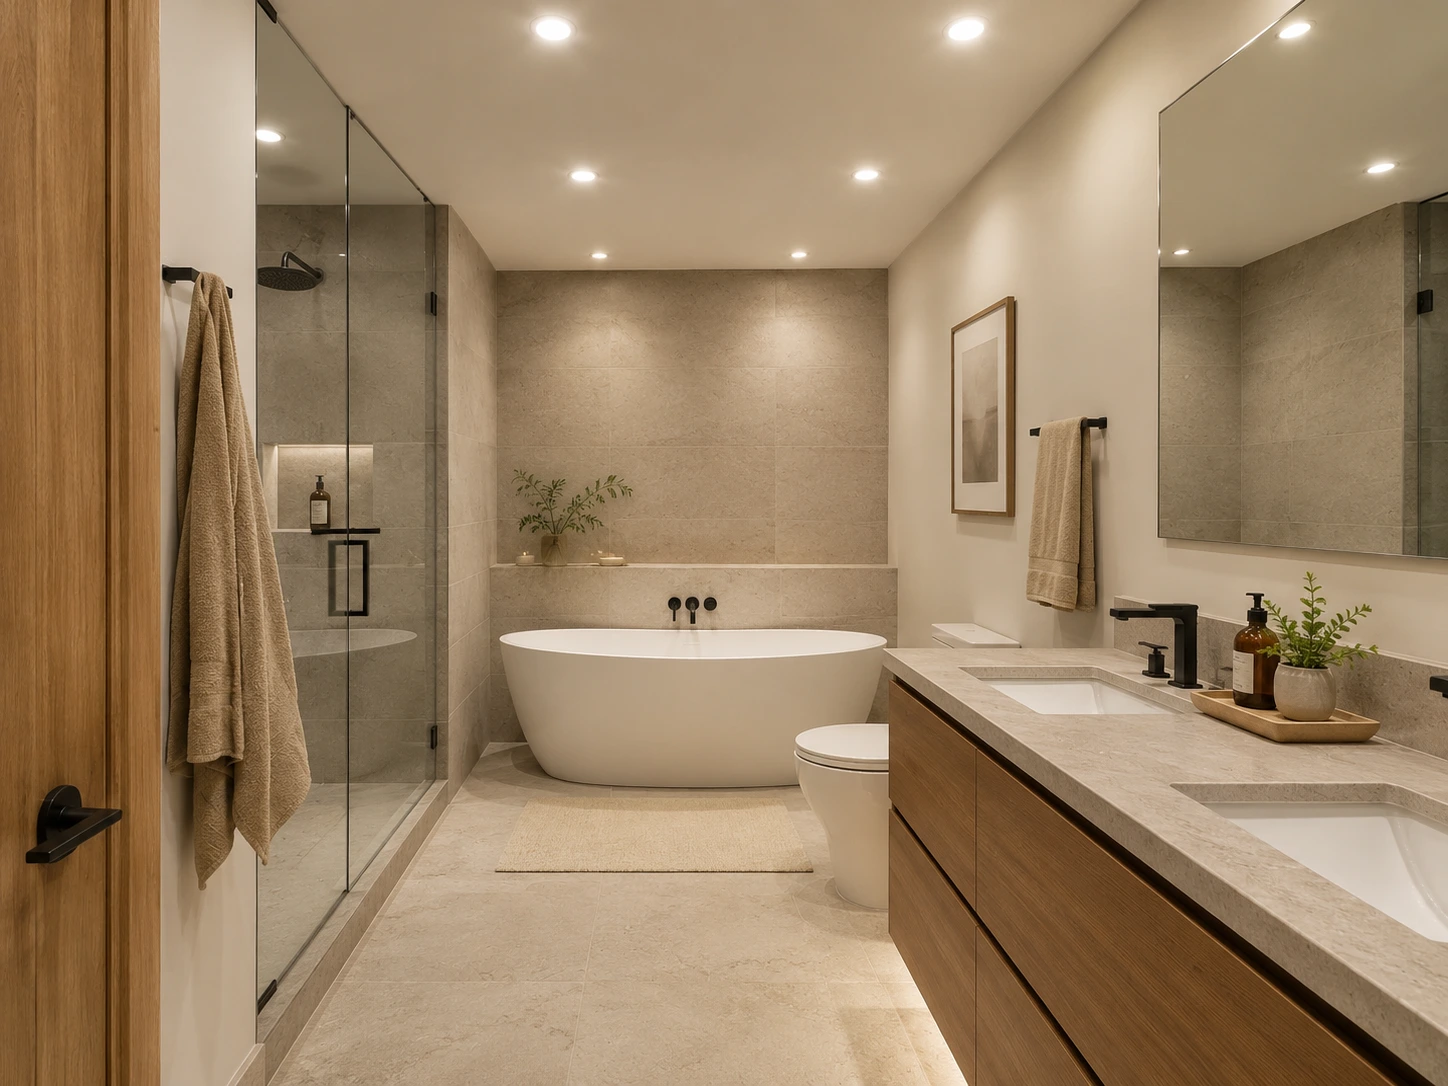
Typical fixtures: ceiling lights, recessed downlights, surface-mounted lights.
Best for: overall visibility, circulation and everyday use.
Mirror & Face Lighting
Provides even light around the face for shaving, makeup, grooming and other close-up tasks.
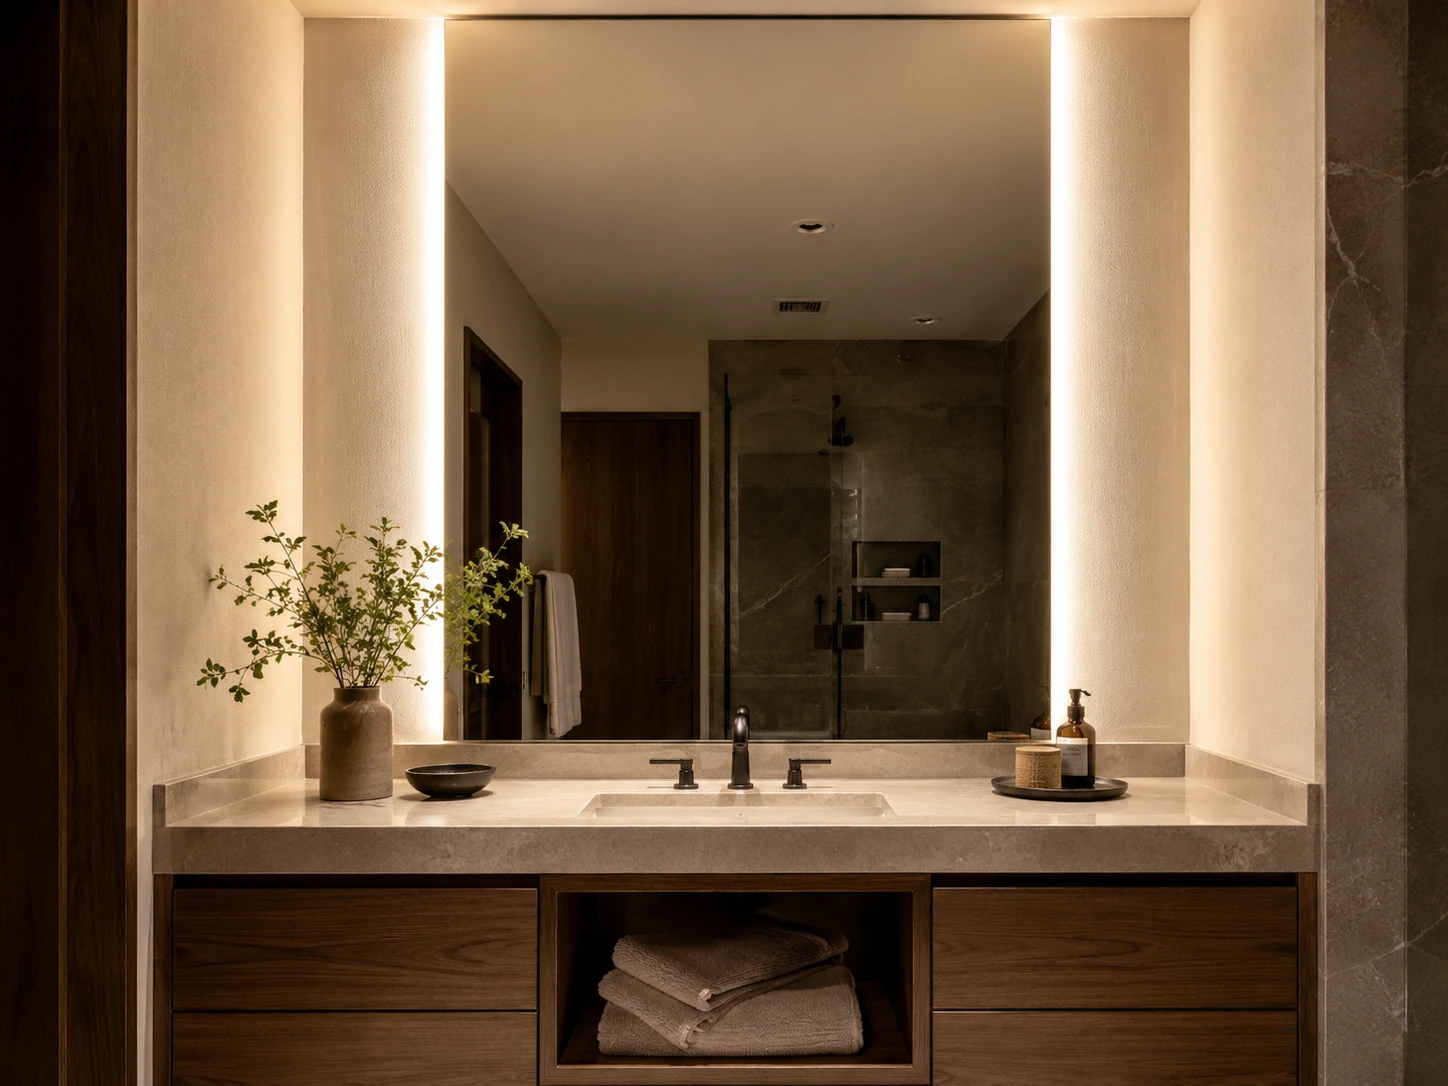
Typical fixtures: vertical mirror lights, wall lights beside the mirror, illuminated mirrors.
Best for: reducing harsh shadows under the eyes, nose and chin.
Accent & Decorative Lighting
Adds depth, atmosphere and visual interest without replacing the functional lighting.
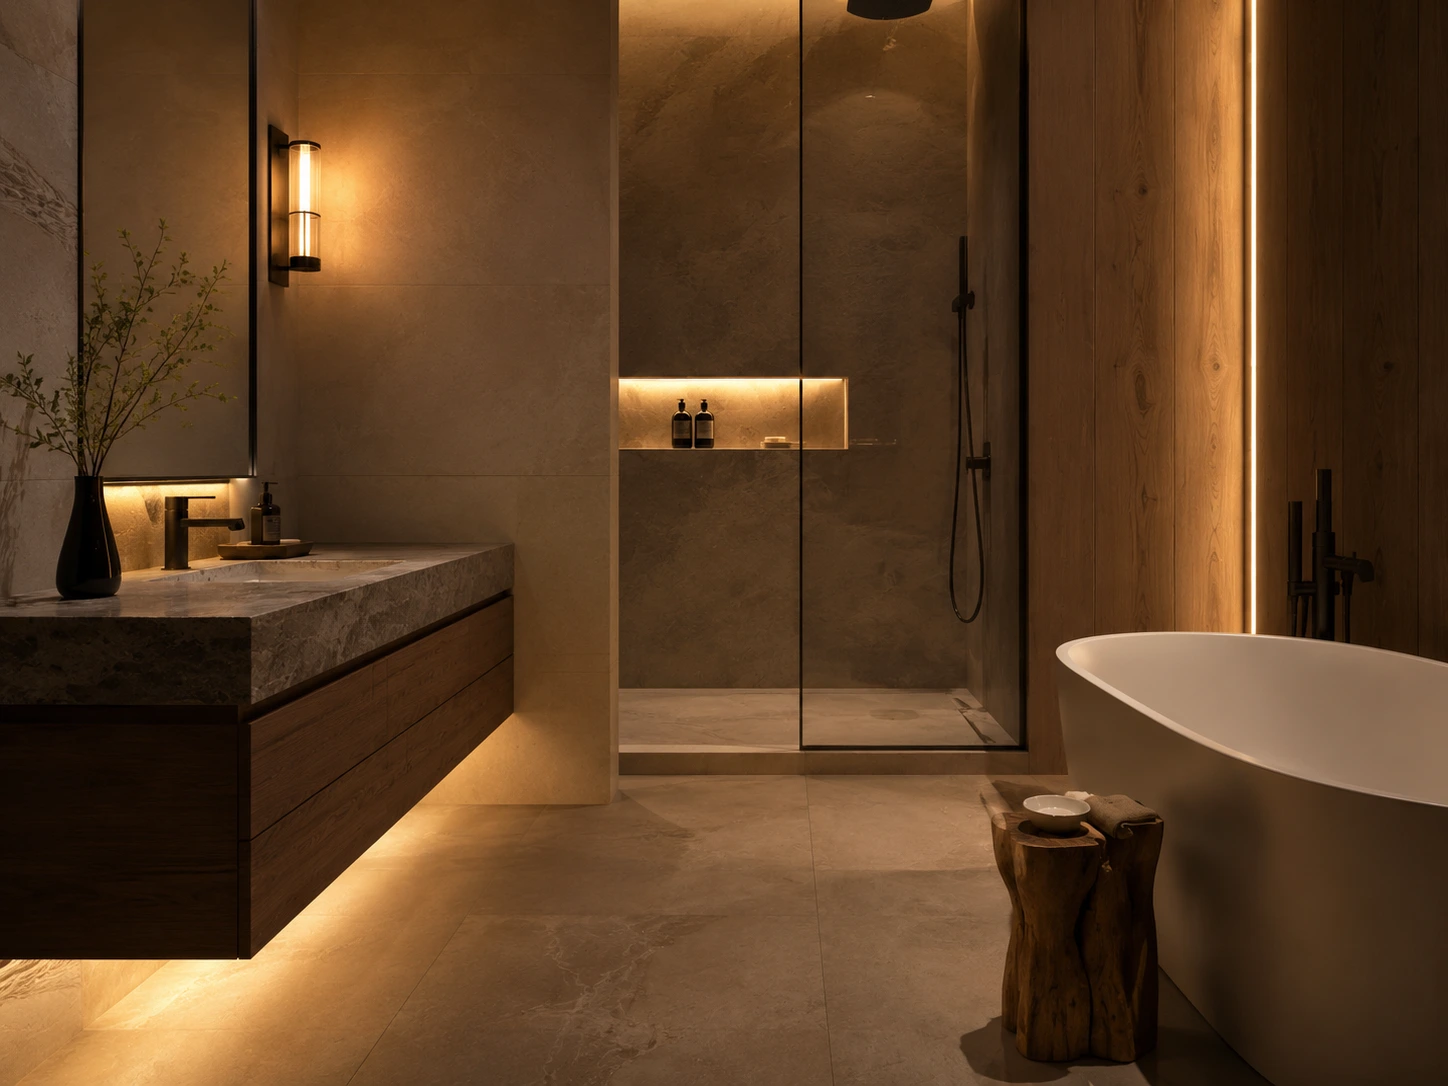
Typical fixtures: wall lights, indirect LED strips, niche lighting, decorative pendants where suitable.
Best for: architectural details, shelves, niches and softer evening lighting.
Useful point: a bathroom can be bright overall and still have poor mirror lighting. The direction of light around the face matters as much as the total brightness.
Mirror Lighting: Where Most Bathrooms Go Wrong
The mirror is where lighting direction matters most. A bathroom can be bright overall but still create harsh shadows on the face if the light comes mainly from above.
Overhead Light Only
A downlight directly above the mirror can create strong shadows under the eyes, nose and chin.
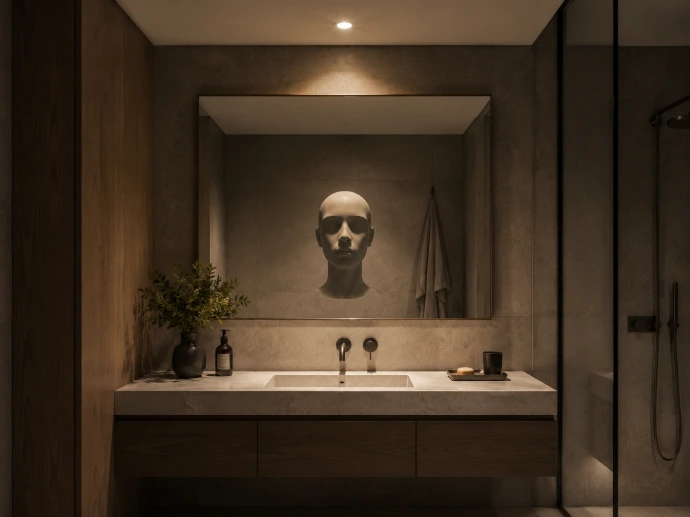
This may be enough for general visibility, but it is not ideal for shaving, makeup or other close-up tasks.
Common result: bright countertop, uneven face lighting.
Light the Face from the Front and Sides
Vertical lighting beside the mirror, or a well-designed illuminated mirror, can spread light more evenly across the face.
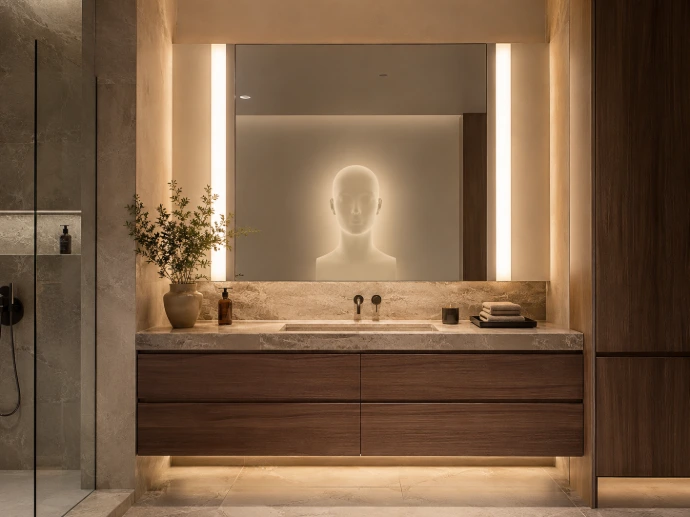
The aim is to reduce strong directional shadows rather than simply add more brightness.
Better result: more even facial illumination and clearer visibility.
Practical rules
1. Avoid relying on one ceiling spot: Use ceiling lighting for the room, not as the only mirror-light source.
2. Position light near face level: Side lighting helps illuminate both sides of the face more evenly than a single source directly overhead.
3. Control glare: The light should be bright enough for grooming without creating uncomfortable glare in the mirror.
Useful point: adding more lumens does not automatically fix poor mirror lighting. Changing the direction of the light can make a bigger difference than simply increasing output.
IP Ratings Matter More Near Water
Read the Second Digit for Water Protection
In an IP rating such as IP44 or IP65, the second digit describes resistance to water ingress.
For bathroom planning, do not choose a fixture based on appearance alone—check the stated IP rating and installation location.
Closer to Water = Higher Protection Requirements
As a useful reference, BS 7671 guidance requires equipment in bathroom zones 1 and 2 to provide at least IPX4, with IPX5 where water jets are likely.
Do not treat this as a universal installation rule for every country. Local electrical regulations and the actual bathroom layout still need to be followed.
Match the Fixture to the Location
- its IP rating;
- how close it will be to the shower or bath;
- whether direct splashing or water jets are possible;
- the manufacturer’s installation instructions;
- applicable local electrical requirements.
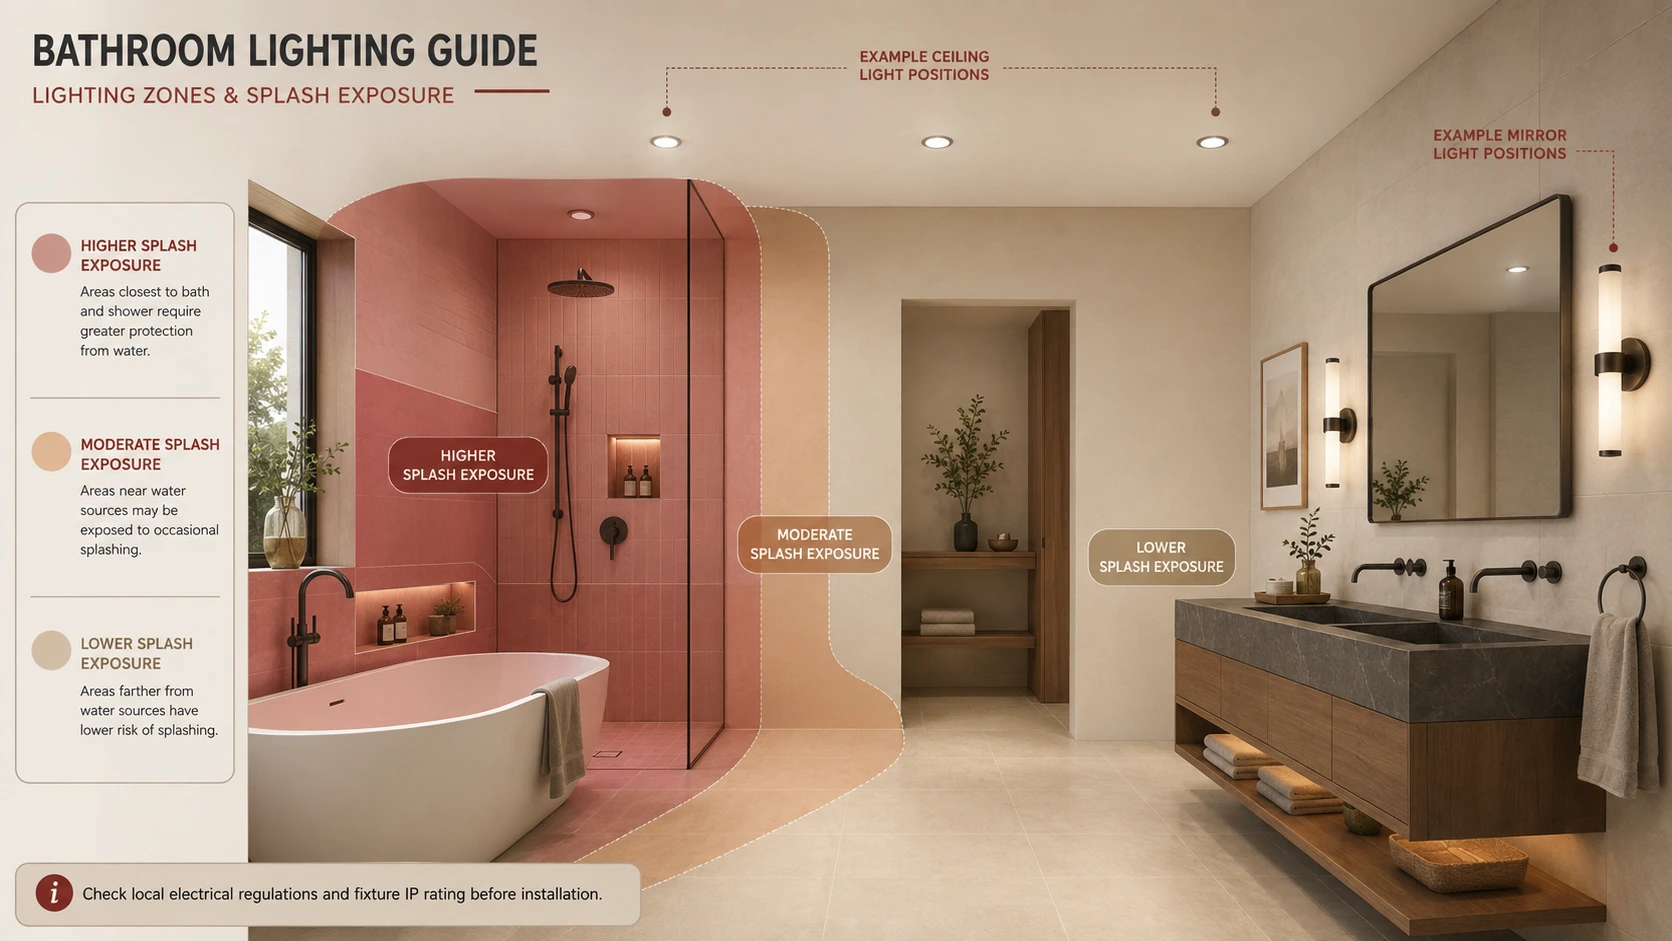
Useful point: “Bathroom suitable” is too vague on its own. The actual IP rating and installation position matter more than the marketing description.
Read: Lighting IP Ratings Explained — IP20, IP44, IP65 & IP67
Explore IP-Rated Lighting
Choose Light That Looks Good on Skin and Surfaces
Bathroom lighting is not only about brightness. The colour of the light and how accurately it renders skin tones, finishes and materials can make a noticeable difference at the mirror.
Colour Temperature (CCT)
CCT changes the visual character of the bathroom.
- 2700K — softer and warmer
- 3000K — warm, clean and versatile
- 4000K — crisper and more neutral
For many residential bathrooms, 3000K is a practical starting point because it stays comfortable while still feeling clean and clear.
Colour Rendering (CRI)
CRI describes how naturally colours appear under a light source compared with a reference source.
The light quality guide explains CRI, glare and colour consistency in detail. Use the Light Quality & Visual Comfort Selector to prepare a specification to review for your bathroom.
For mirror and grooming areas, better colour rendering helps skin tones, makeup, fabrics and finishes appear more natural.
Where available, CRI 90+ is a strong choice for mirror lighting and other colour-sensitive tasks.
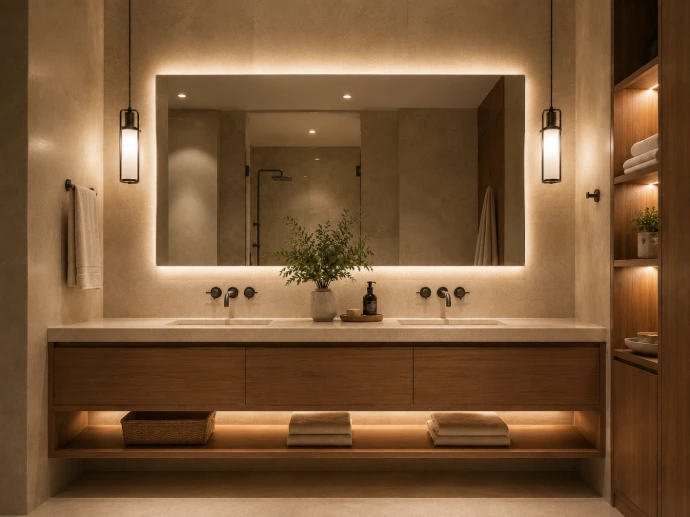
2700K
Warm and relaxed
Works well where the bathroom is intended to feel soft and spa-like.
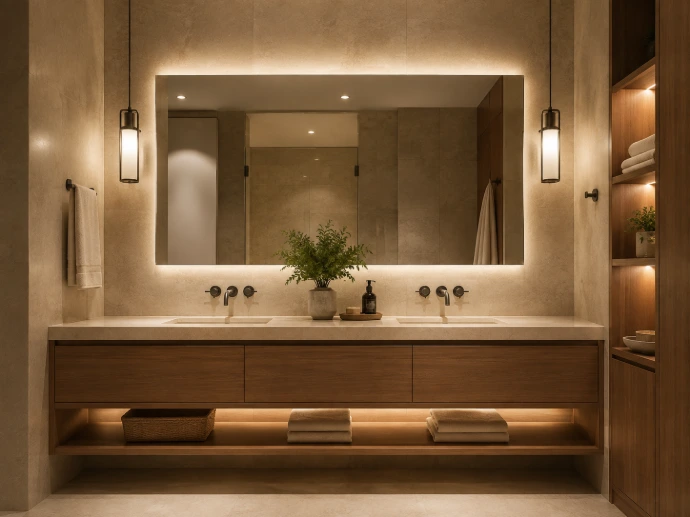
3000K
Balanced for everyday use
Warm enough for comfort, but clean enough for grooming and general bathroom use.
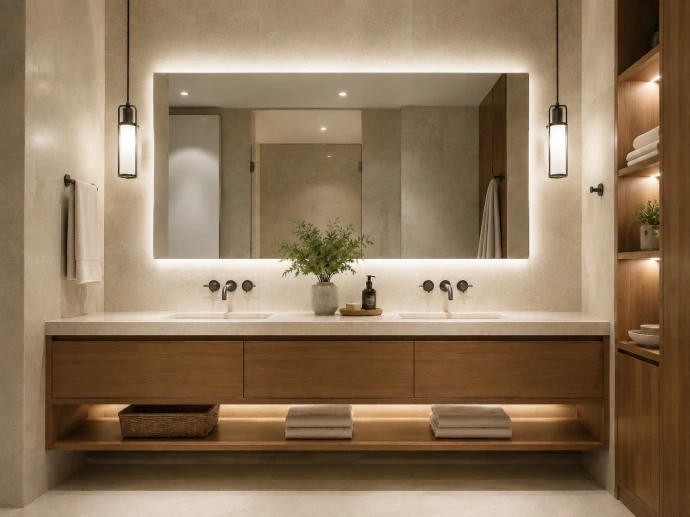
4000K
Crisp and functional
Can suit contemporary bathrooms or spaces where a cooler, more neutral appearance is preferred.
Useful point: CCT and CRI solve different problems. CCT changes the colour appearance of the light; CRI affects how accurately colours are rendered under it.
Place Ceiling Lights Around the Room, Not Just in a Grid
Bathroom ceiling lighting should support the layout below it. The vanity, shower, bath and circulation areas each need different attention, so a perfectly even ceiling grid is not always the best plan.
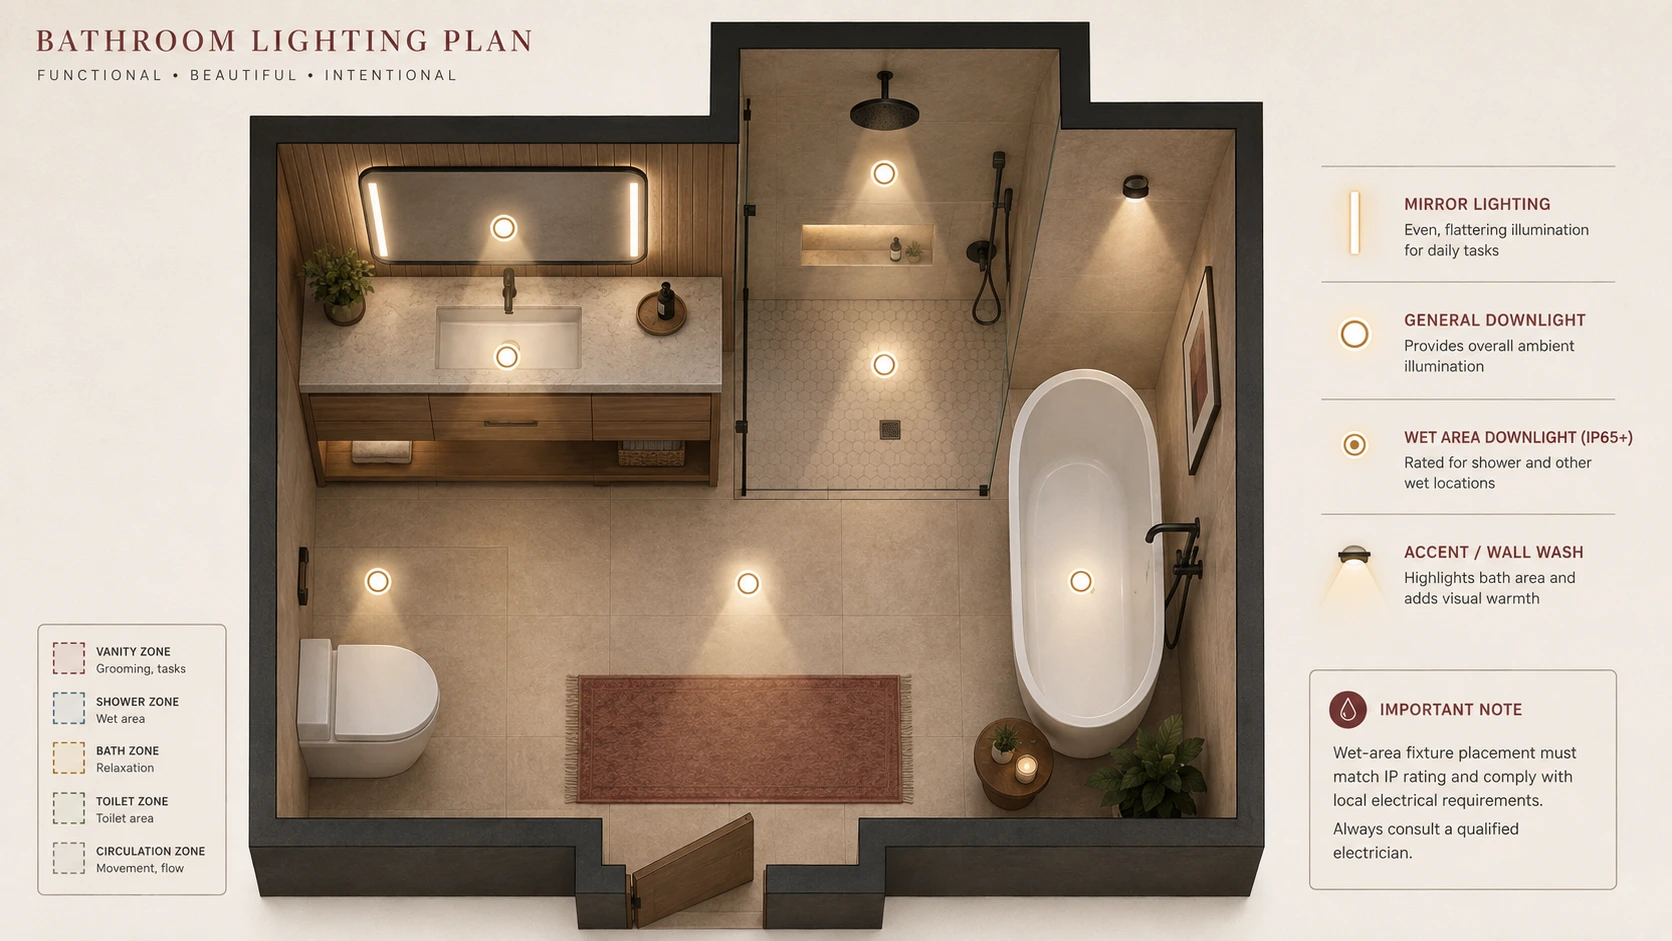
For compact bathrooms, fewer well-positioned lights can work better than a crowded ceiling.
For larger bathrooms, separate the lighting into functional zones rather than trying to solve the whole room with one fixture type.
Useful point: the best bathroom lighting layout usually follows the plumbing and furniture plan first, then the ceiling plan—not the other way around.
Use Ceiling Lights to Fill the Gaps
General ceiling lights should make the room comfortable to move through without creating unnecessarily bright hotspots.
Think about the whole floor plan rather than simply spacing fixtures at equal distances.
Light Wet Areas Carefully
Shower and bath areas need clear visibility, but fixture placement must also respect splash exposure, IP rating and local electrical requirements.
Avoid placing decorative fixtures in wet areas unless they are specifically suitable for the location.
Do Not Rely on a Downlight Directly Over the Mirror
A ceiling light above the vanity can support general illumination, but it should not be the only source lighting the face.
Use dedicated mirror lighting for grooming, then let ceiling lights support the surrounding area.
Example: A Balanced Bathroom Lighting Plan
Now bring the different layers together. The goal is to make the bathroom comfortable overall, functional at the mirror, and safe around wet areas without filling the ceiling with unnecessary fixtures.
Room Brief
Typical layout: vanity, mirror, walk-in shower, toilet and circulation area
Main uses: grooming, showering, general use and softer evening lighting
Lighting priorities: even mirror light, comfortable general illumination and suitable protection near water
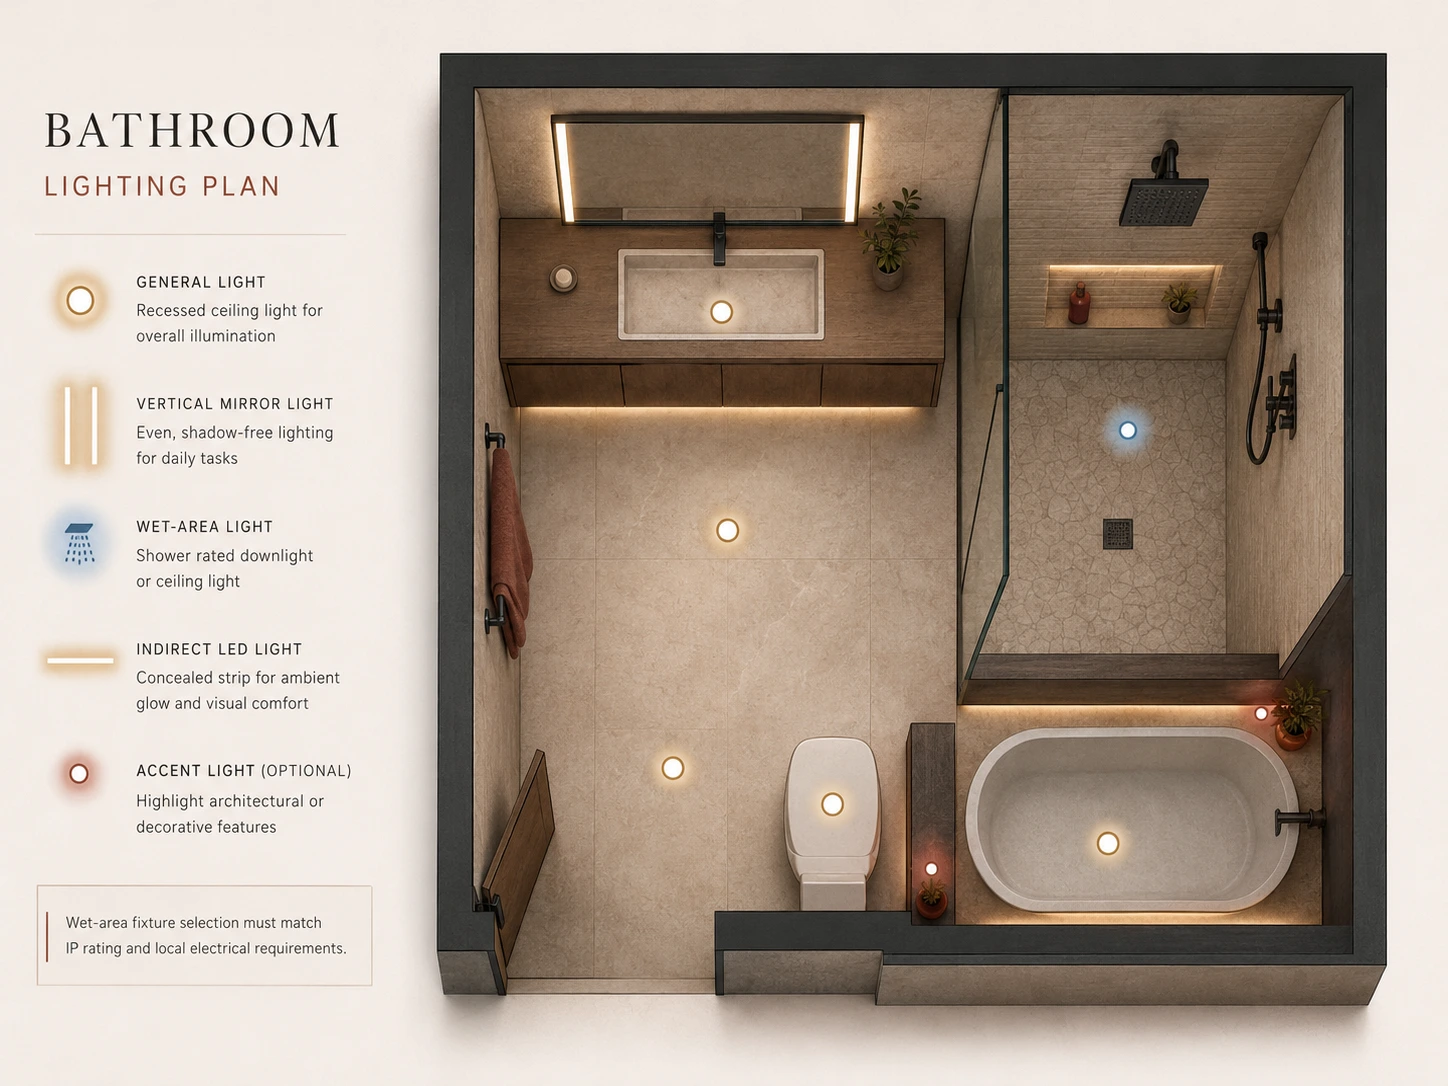
A Practical Lighting Recipe
1. General lighting: Use a small number of well-positioned ceiling lights to provide comfortable overall illumination.
2. Mirror lighting: Add vertical side lighting or an illuminated mirror so the face receives light from the front and sides rather than mainly from above.
3. Shower lighting: Use a suitable wet-area fitting with the required IP protection for its exact installation position.
4. Accent lighting: Use indirect LED lighting under the vanity or inside niches where it adds useful depth and softer evening illumination.
5. Separate control where possible: Keep mirror, general and accent layers independently switchable so the bathroom does not need every light on at once.
Compact checklist
- General light for movement
- Dedicated mirror lighting
- Suitable wet-area protection
- Accent light for atmosphere
- Separate control for flexibility
Useful point: the bathroom often works better with several modest lighting layers than with one very bright ceiling source.
Read the IP Ratings Guide
Explore Ceiling Lights | Wall Lights
5 Bathroom Lighting Mistakes to Avoid
Bathroom lighting problems are often caused by placement and fixture choice rather than simply not having enough light.
One bright ceiling fixture may illuminate the room, but it usually does not provide good mirror lighting or enough flexibility for different times of day.
Use separate layers for general, mirror and accent lighting.
This can create strong downward shadows on the face.
Use dedicated mirror lighting from the front or sides, then use the ceiling light to support the surrounding area.
A fitting may look suitable for a bathroom but still be wrong for its actual installation position.
Check the fixture’s IP rating, splash exposure, manufacturer instructions and applicable local electrical requirements.
Poor colour rendering can make skin, makeup and finishes look unnatural.
For mirror areas, prioritise good colour quality as well as brightness. Where available, CRI 90+ is a strong choice.
Bathrooms often need different lighting at different times.
Separate control for general, mirror and accent layers gives you bright functional light when needed and softer lighting at night.
Quick check: if your bathroom is bright but you still struggle to see clearly at the mirror, the problem is probably placement or light quality—not simply lumen output.
Build Your Bathroom Lighting Plan
Start with the part of the bathroom you are trying to solve, then choose the right fixture type and protection level for that location.
I’m Planning the General Lighting
Use the room size and layout to estimate the ambient light level and decide how many ceiling fixtures are actually needed.
Calculate Lux & Lumens
I’m Choosing Mirror Lighting
Focus on even facial illumination, good colour rendering and reduced glare.
Explore Wall Lights
I’m Checking Wet-Area Protection
Make sure the fixture’s IP rating matches the installation position and local electrical requirements.
Read the IP Ratings Guide
Explore Bathroom Lighting Options
Need Help Choosing the Right Bathroom Lighting?
Visit our Achrafieh showroom or contact the Saleh Deco team to compare fixture sizes, finishes, light colour and suitable options for different bathroom zones.